 Nowadays water conservation is an important problem that we can solve with simple habit changes like not letting the faucet on when brushing your teeth, taking shorter showers, etc. My wife and I are doing our best not to waste any water. For example, we are always washing dishes in a bucket and reuse the waste water in the garden. However, the place wasting the most water in the household is the toilet. We try to flush the toilet as seldom as possible (never to get rid of trash or try to wait after several usage before flushing) but it is not always practical. I thought of changing the toilet for one that has a double-flush system, but a new toilet can be expensive ($250-$300) and mine is a rare pinkish-beige color matching the sink, bath and tiles and I would probably never be able to find the same shade (it would most likely be cheaper and easier to go with the standard white which would be clashing with the rest of the room).
When the water intake of the toilet started leaking I thought: “This is it; I might have to change the toilet and it will be expensive!” Fortunately, I found a way to repair my old toilet and save water at the same time for just a few dollars!
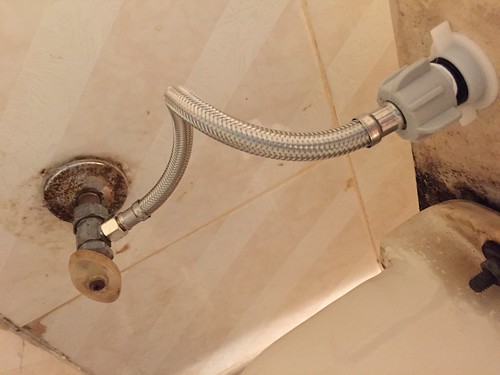
The first step was to change the water supply hook-up because the plastic nut could be cracked and be the source of the leak. I took the extra precaution to wrap some teflon tape around the threads of the connector before screwing it in. Here's pictures of the old and new toilet hook-up:
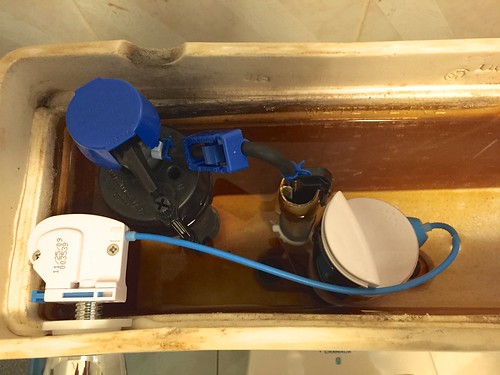
Second, I also changed the fill valve tower because its washer could be dry and cracked, therefore being the source of the leak. I didn't want to take any chance. Better safe than sorry, as they say. The new models have the ballcock integrated in the tower so I got rid of the ugly black floater at the same time! Here's an instructional video on how to do all that:
While shopping to purchase the parts needed to replace the fill valve, I noticed that they were also selling kits to convert toilets with a dual-flush system. And it was quite cheap (about $20)! I didn't hesitate a second and I purchased that as well. So, the third and last step was to convert my old toilet with a dual-flush system. Here's another instructional video for that part:
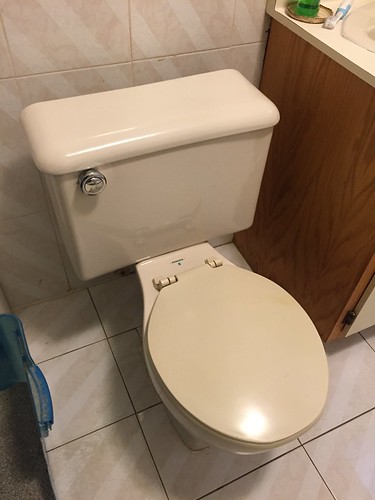
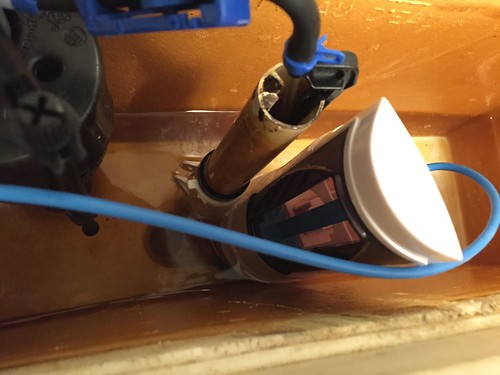
It was quite easy to install. The most difficult part was to figure out how to place the control cable linking the flush button with the system so it would not be in the way of the ballcock. The best part of it is that, at the same time, I got rid of the damn rubber flapper that so often get stuck! I took my time and did it in twenty or thirty minutes. Here's the result:
 I not only succeeded to repair my old toilet, but I also converted it into a dual-flush all for less than fifty dollars! No need to replace the toilet and worry about its color anymore.
 It works pretty well. Now there's two button: a small one for half a flush and a bigger one for a full flush! Finally I can save more water without any hassle.
I hope this article was useful to you and will help you save more water in the future!
[ Traduire ]
No comments:
Post a Comment